Adding Images & Files
- Support Difficulty
- ★★☆☆☆
On this page:
Adding images, files or audio files to your pages and folders in your site is done using the 'Media Gallery'. This is where you can change your banner images, upload pdfs or other documents, or upload sermon talks to your website. Also make sure that your image isn't more than 1MB so as not to slow down your site unnecessarily. There is a tool to compress images here and how to use it can be seen here.
Adding images to a page is done by:
- uploading the image to the page and
- then adding it to the gallery and
- then editing it.
The steps are as follows:
Before uploading image
Just check that it's at least 2000 pixels wide for a full width banner or 1080 pixels for all other images. There is an image resize tool you can use here if you need to resize your image and don't have any other software to do that with:
1. Uploading an Image
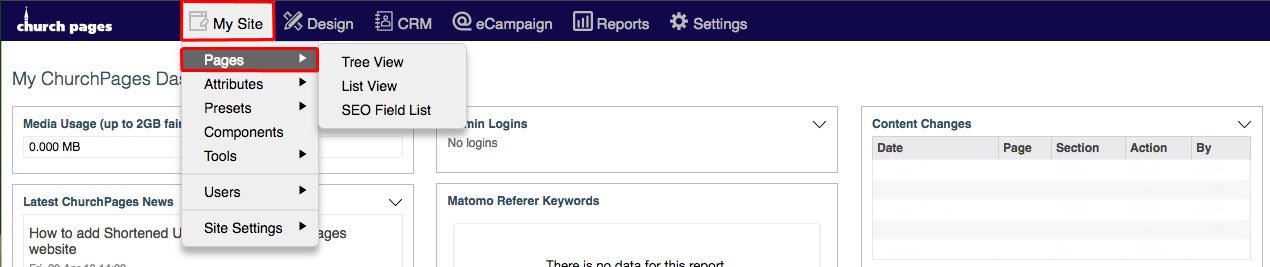
1. Go to the page you want to edit or add an image to by going first to My Site > Pages.
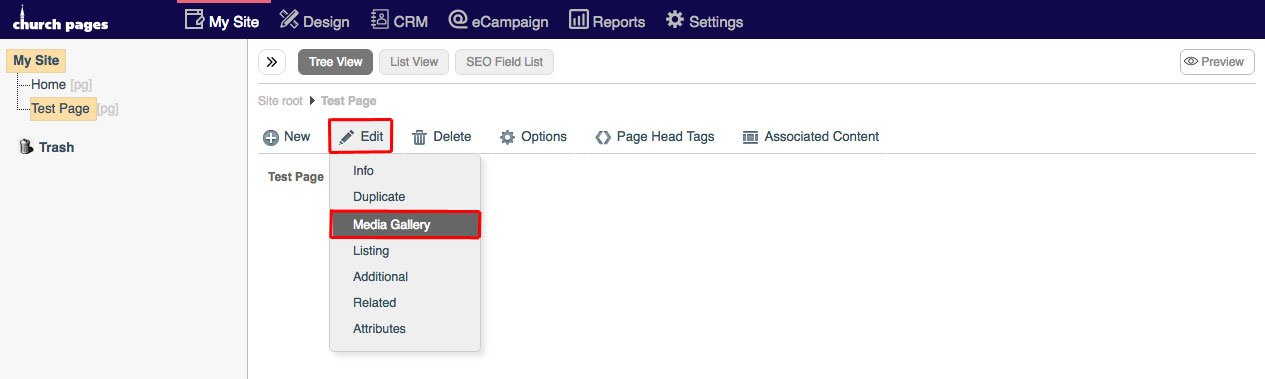
2. Then click on the page or folder that you want to add the image to.

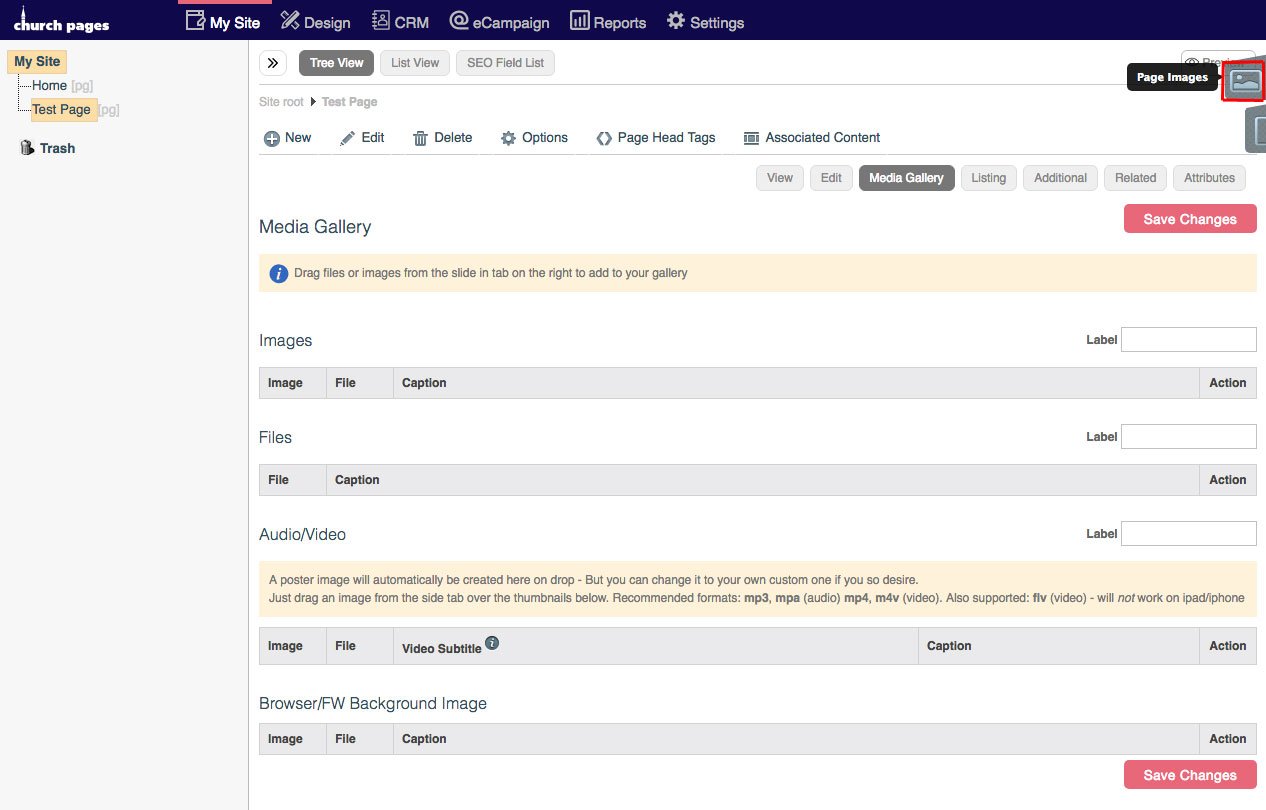
3. Hover over Edit and then click Media Gallery.
4. Click the Page Images tab in the top-right of the Media Gallery.
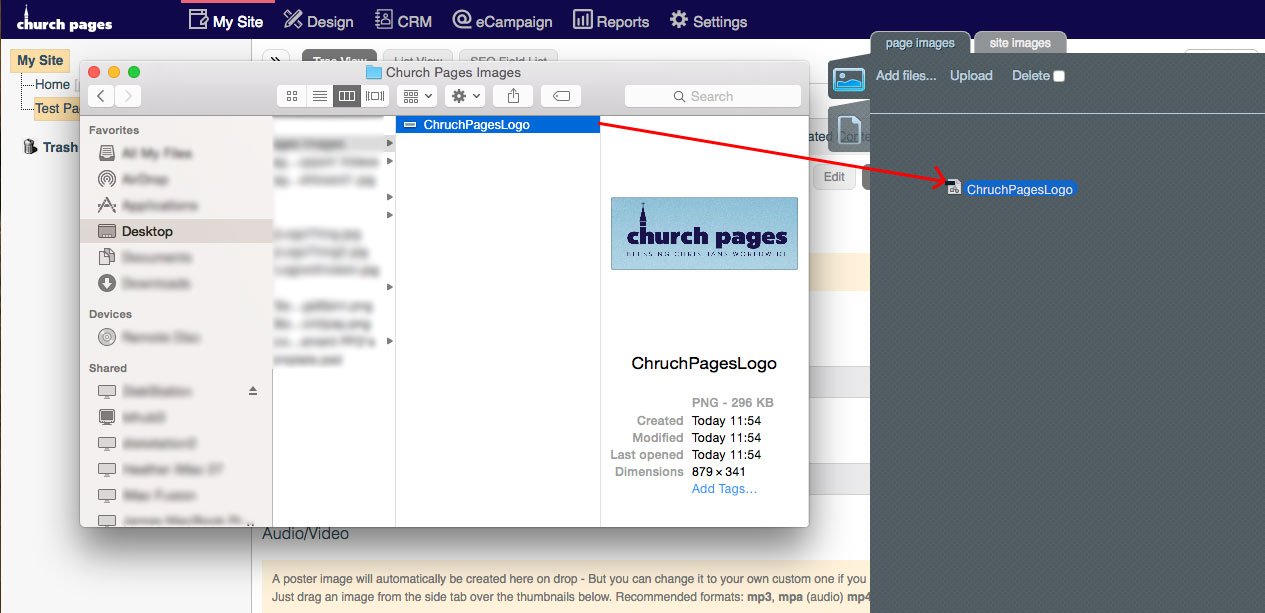
5. Drag and drop your image file into the tab or click Add Files and open the image file with the file browser.
6. Click Start.
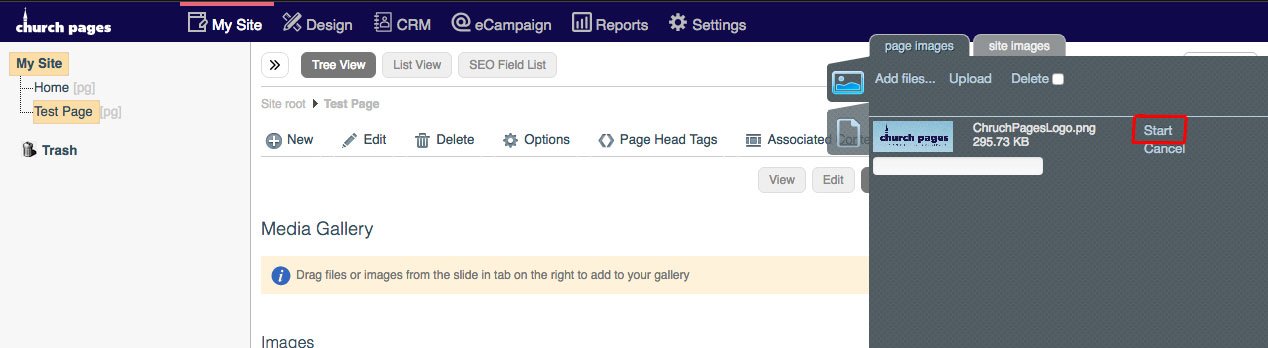
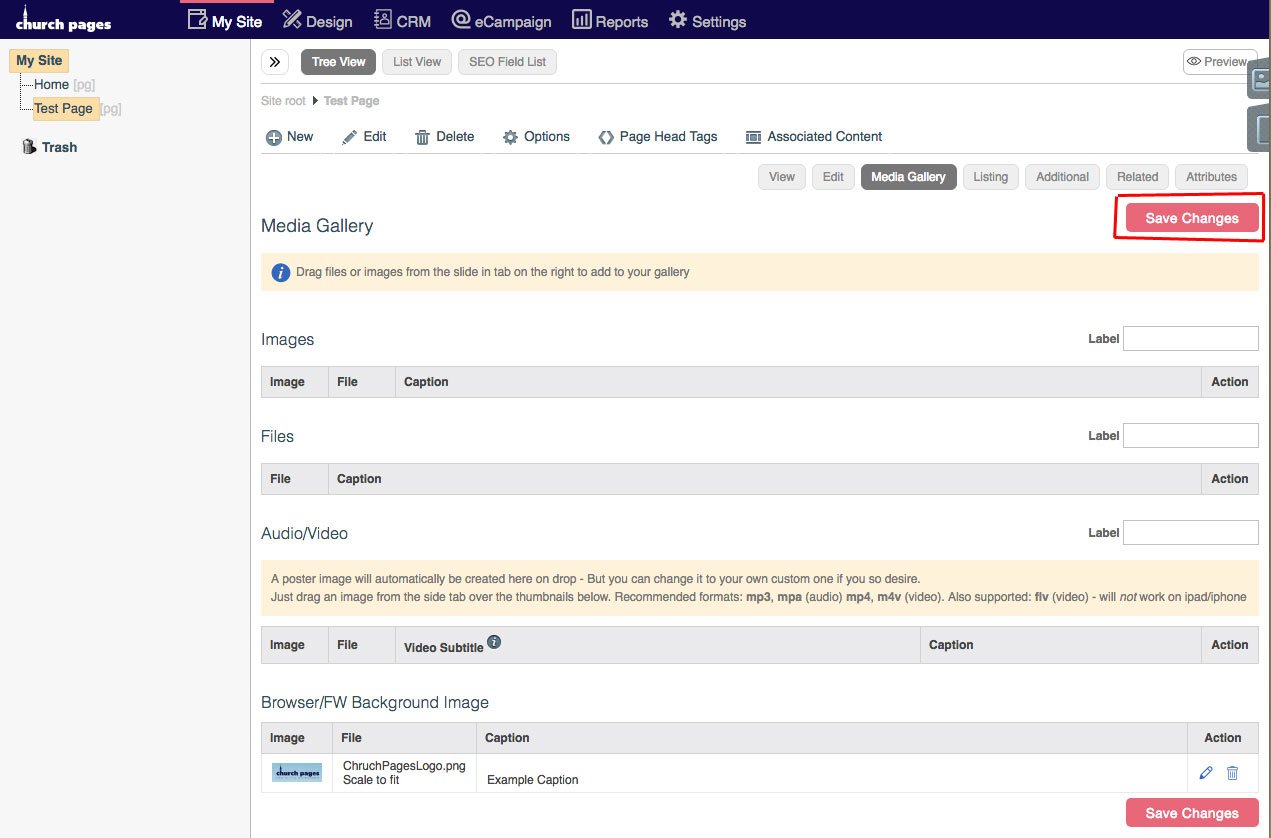
7. Your image is now uploaded and ready to place in either the 'Images' or the 'Browser/FW Background Image' gallery.
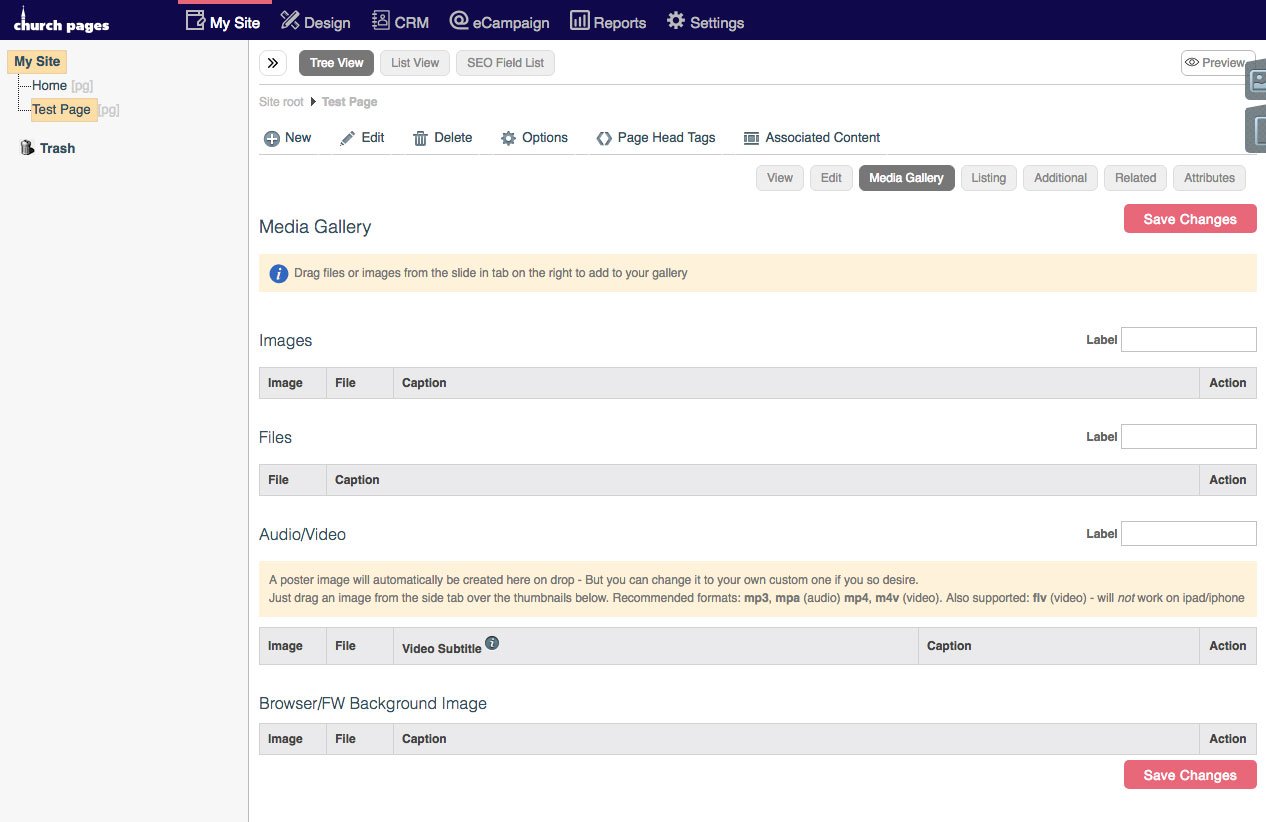
2. Adding an Image to either a Banner or Gallery
After completed the steps above, you are ready to decide where to put your image. There are two types of image galleries in your Church Pages site. One is the Browser/FW Background Image gallery and is mainly used for banners (the images often found going the full width of your site at the top of each page). The other is the 'Images' gallery which is generally used for a single image or a gallery of images at the bottom of a page or a news article.
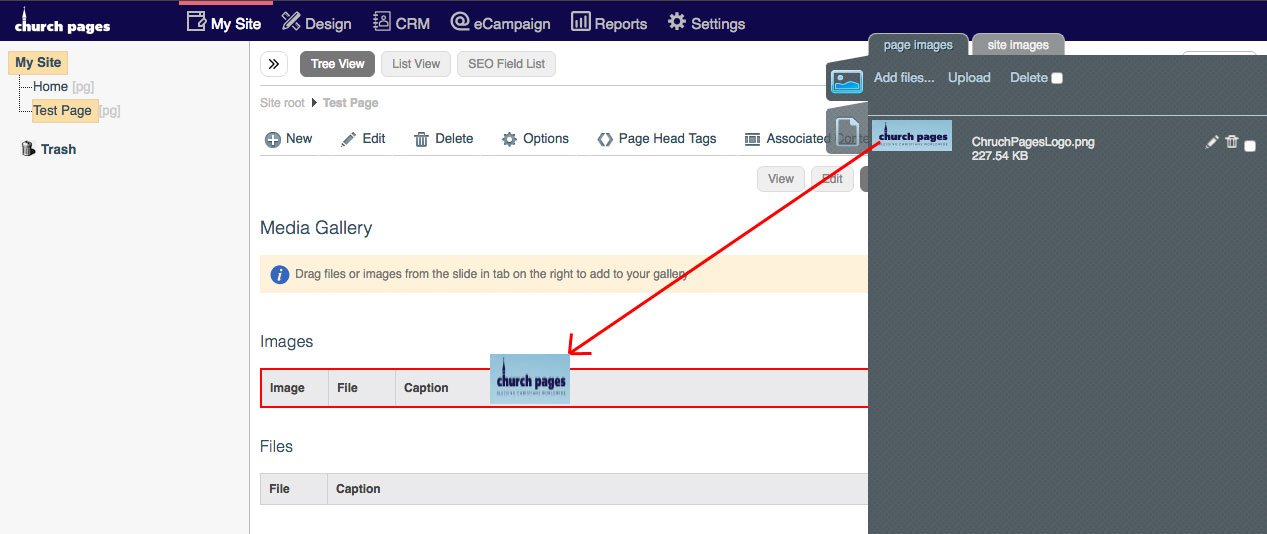
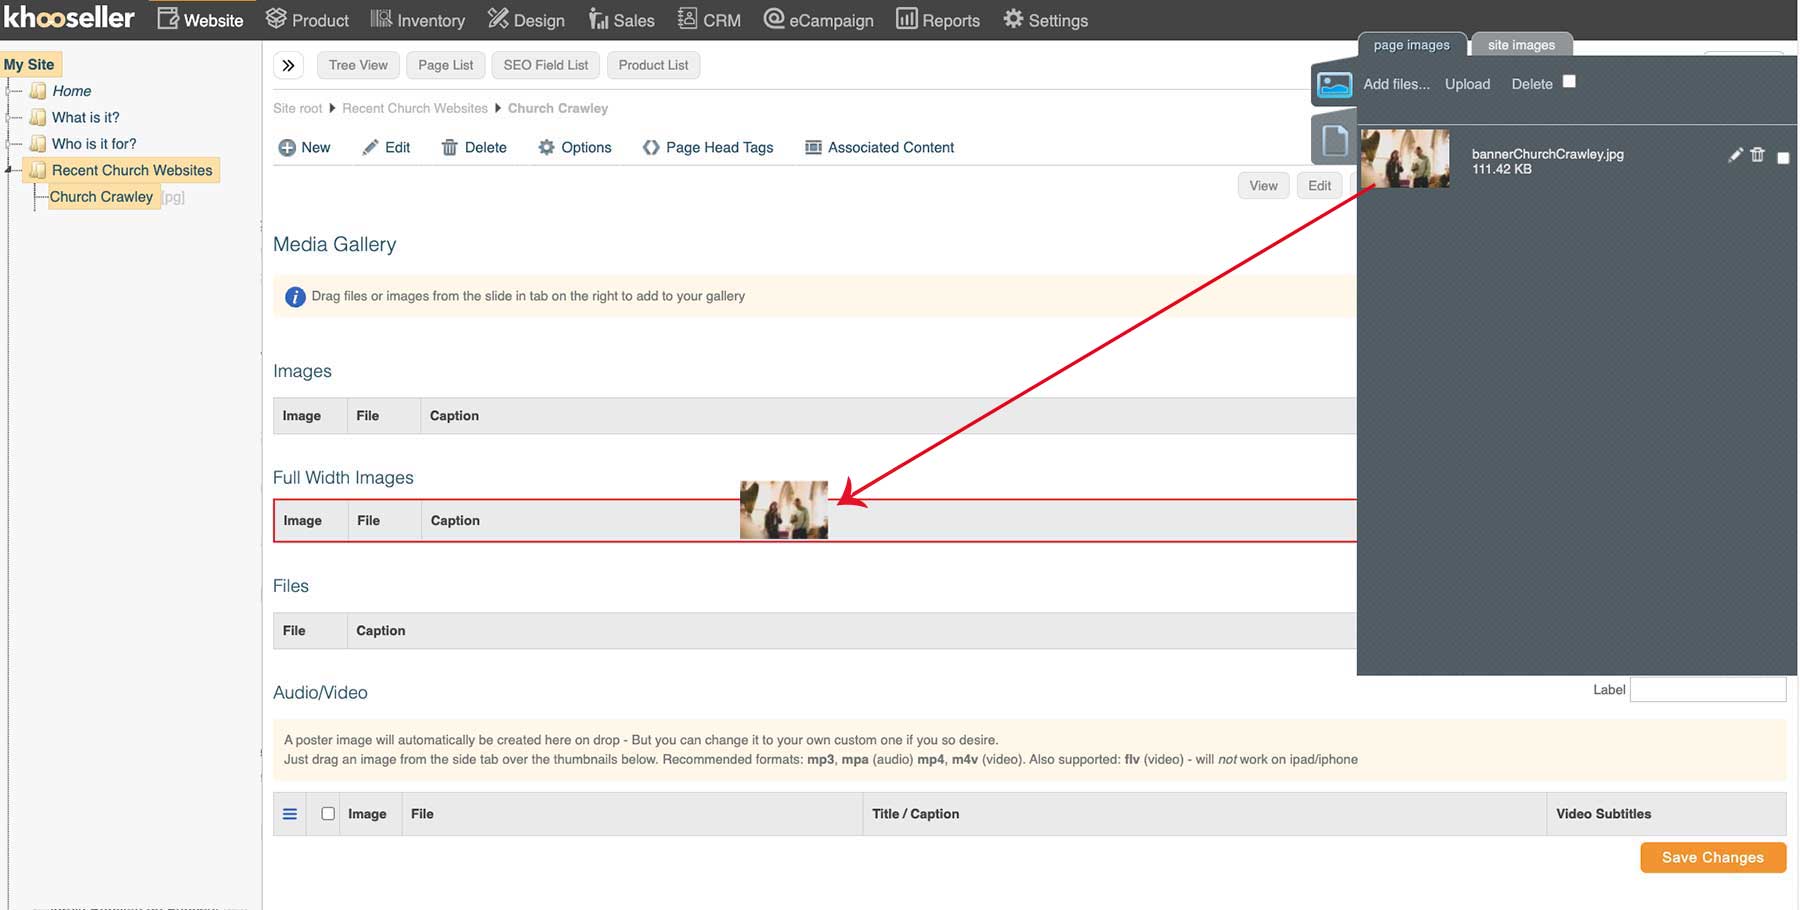
To place the image in either gallery, simply drag and drop the uploaded image from the page images tab into either the Images Gallery or the Browser/FW Background Image in the Media Gallery.
Drag to either here for the 'Images' gallery:
or here for the 'Browser/FW Background Image' gallery:
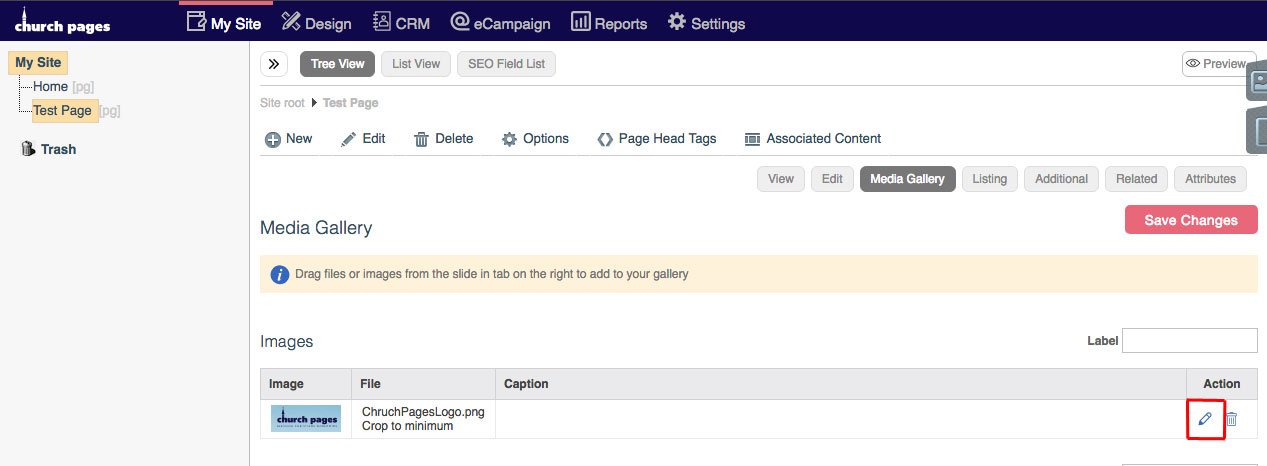
5. Edit the image by clicking on the pencil icon to the right of the image.
The editing options are different depending on the type of gallery - whether for the 'Browser/FW Background Image' gallery used for banners or the 'Images' gallery used for other image galleries on pages. The options for each are as follows:
Editing Your Page Banner (Browser/FW Background Image Gallery used for Website Banners)
Make sure you have completed the steps above to upload the image to the page and to add it to the 'Browser/FW Background Image' gallery. Then you need to edit it as follows:
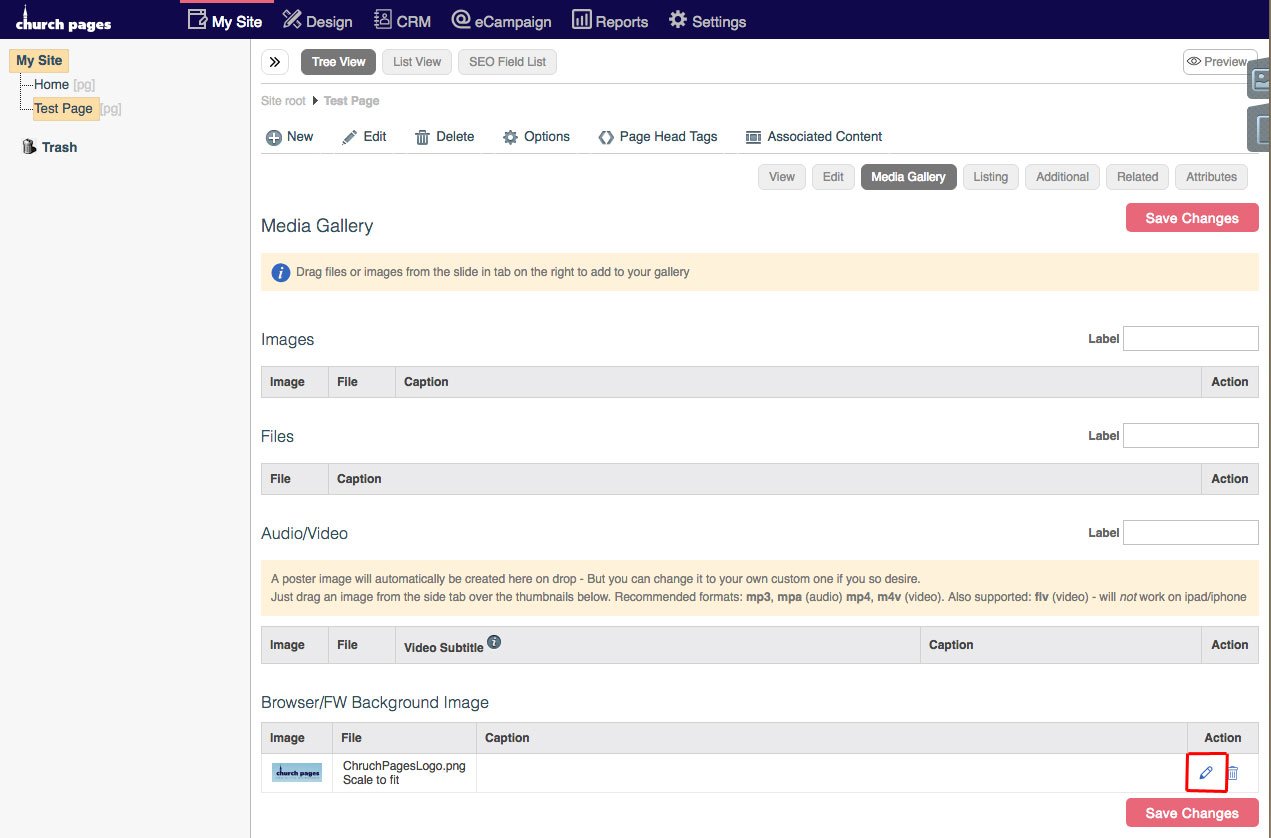
1. Edit the Browser/FW Background Image by clicking the pencil icon.
3. You can add a link by pasting the link into this text box, or if you're linking to a page on your Church Pages website, you can click the pencil icon and choose a page to link to from the tree view.
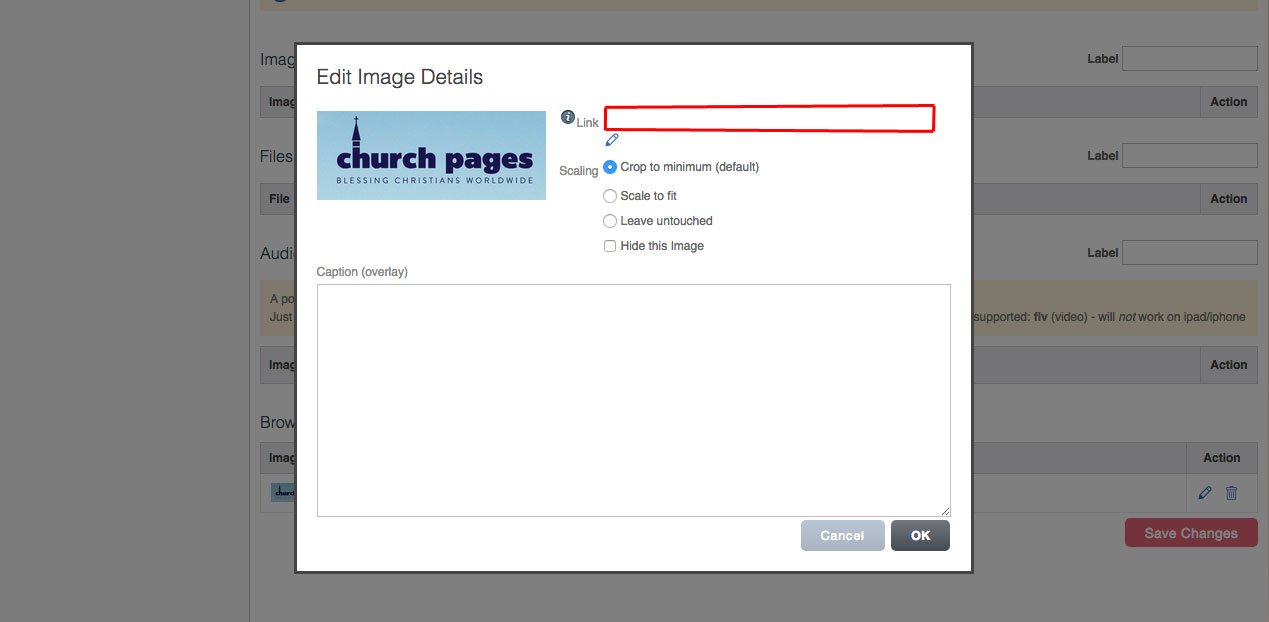
4. Click 'Scale to Fit'. There are other options but for for a full width gallery at the top of a website, the option to choose is always 'Scale to fit'
5. You can hide the Image by clicking this checkbox.
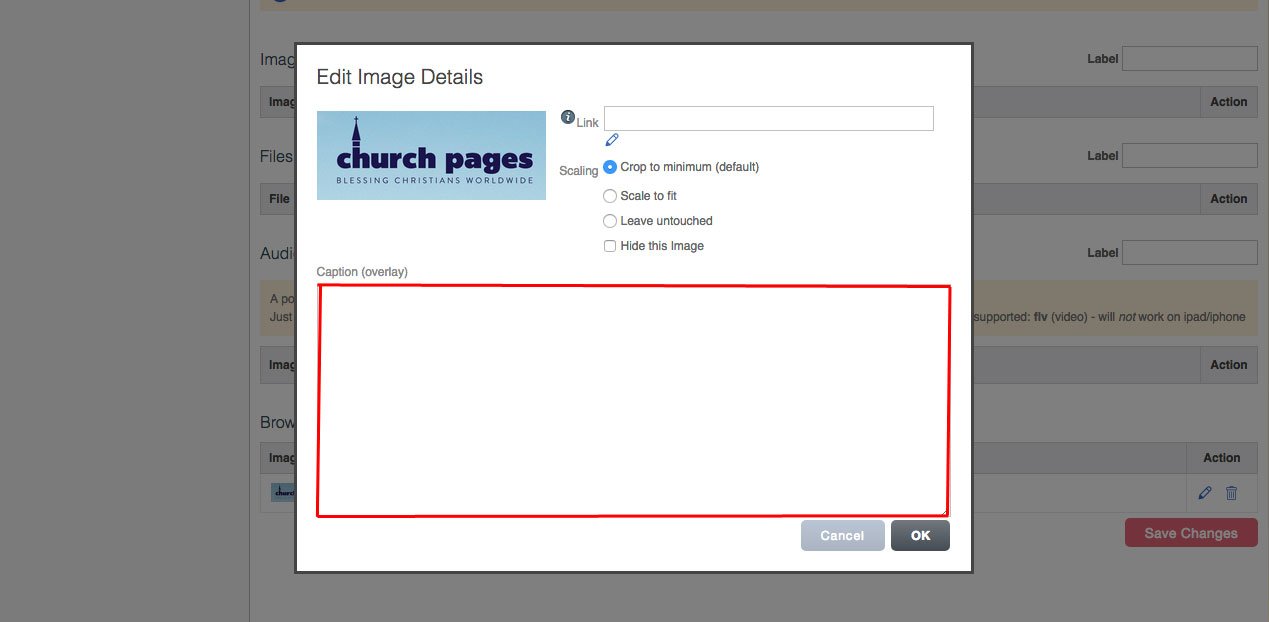
6. You can add a caption to the Browser/FW Background Image by typing into this text box. You can use HTML and CSS to style the text here too. We recommend copying a caption from an existing banner in your website and then pasting it in and editing it.
7. Click OK.
8. Click Save Changes.
Editing Other Page Images such as team member images on a team member page
Make sure you have completed the steps above to upload the image to the page and to add it to the 'Images' gallery.
1. Click the pencil icon to the right of the image.
2. Type in a title and description of the image into the input fields.
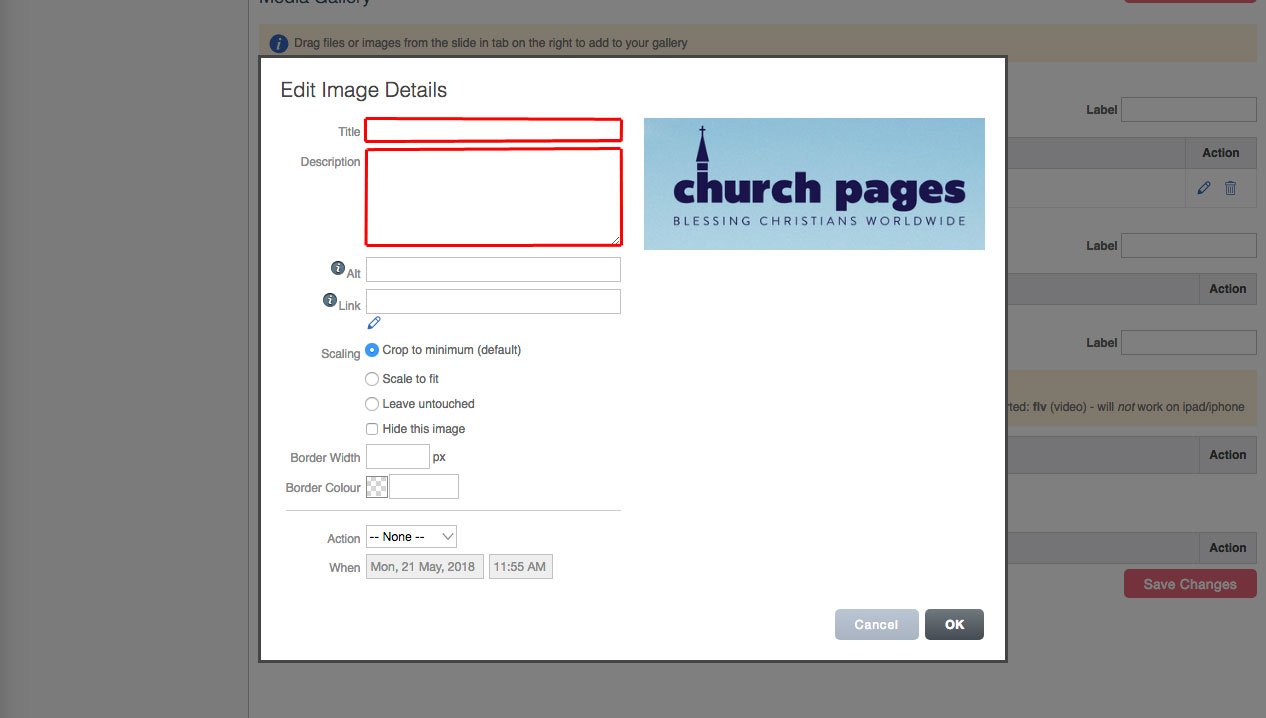
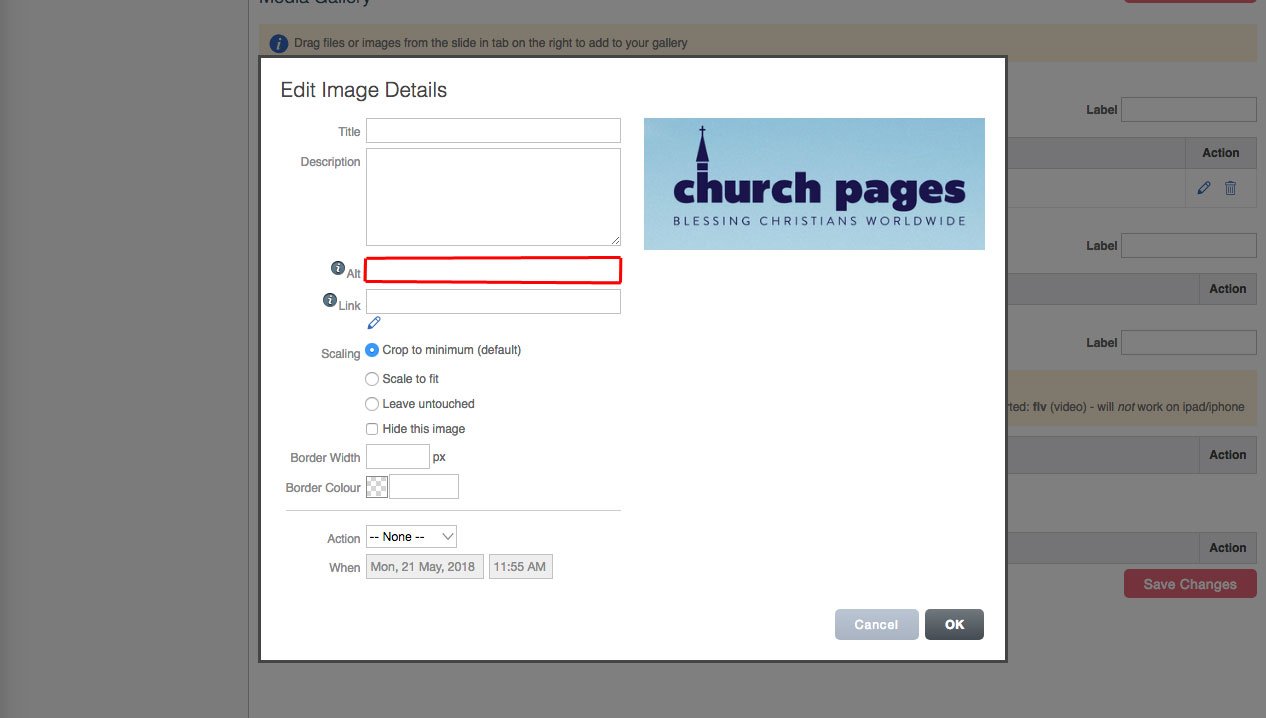
3. Add alt tags to the image. These are used for Google to index the image and for screen readers of site visitors who are sight impaired. It stands for 'alternative text' and is a simple description of what the image is.
4. You can add a link by pasting the link into this text box, or if you're linking to a page on your Church Pages website, you can click the pencil icon and choose a page to link to from the tree view.

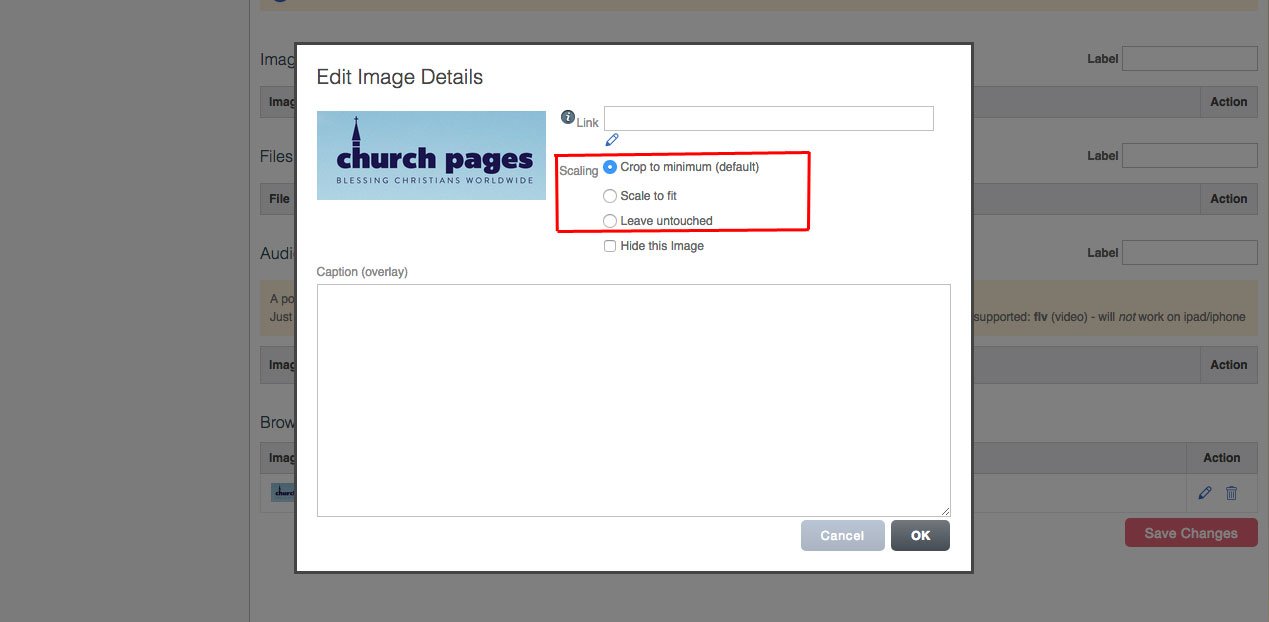
5. Choose how you want the image to be scaled:
Crop to minimum - Crops the image so that it fits the size of your image gallery.
Sale to fit - Changes the size the image so that the whole image fits in the image gallery.
Leave untouched - Leaves the image so that it is displayed the same way that it's uploaded.

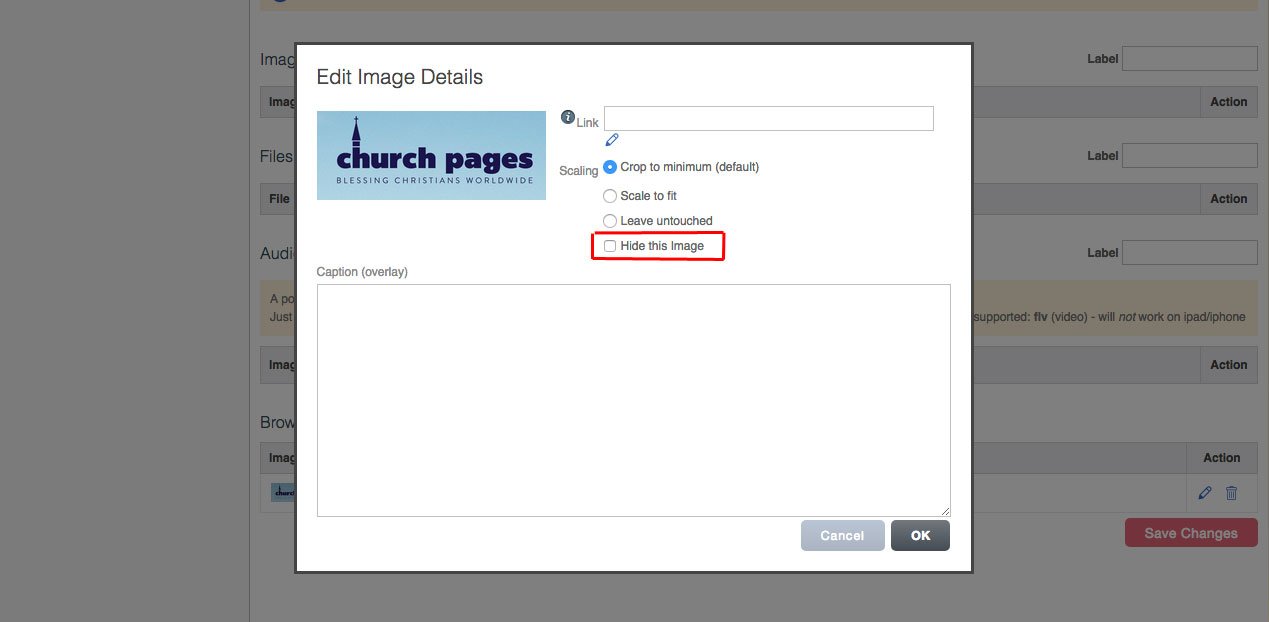
6. You can hide the image by clicking the hide this image checkbox.

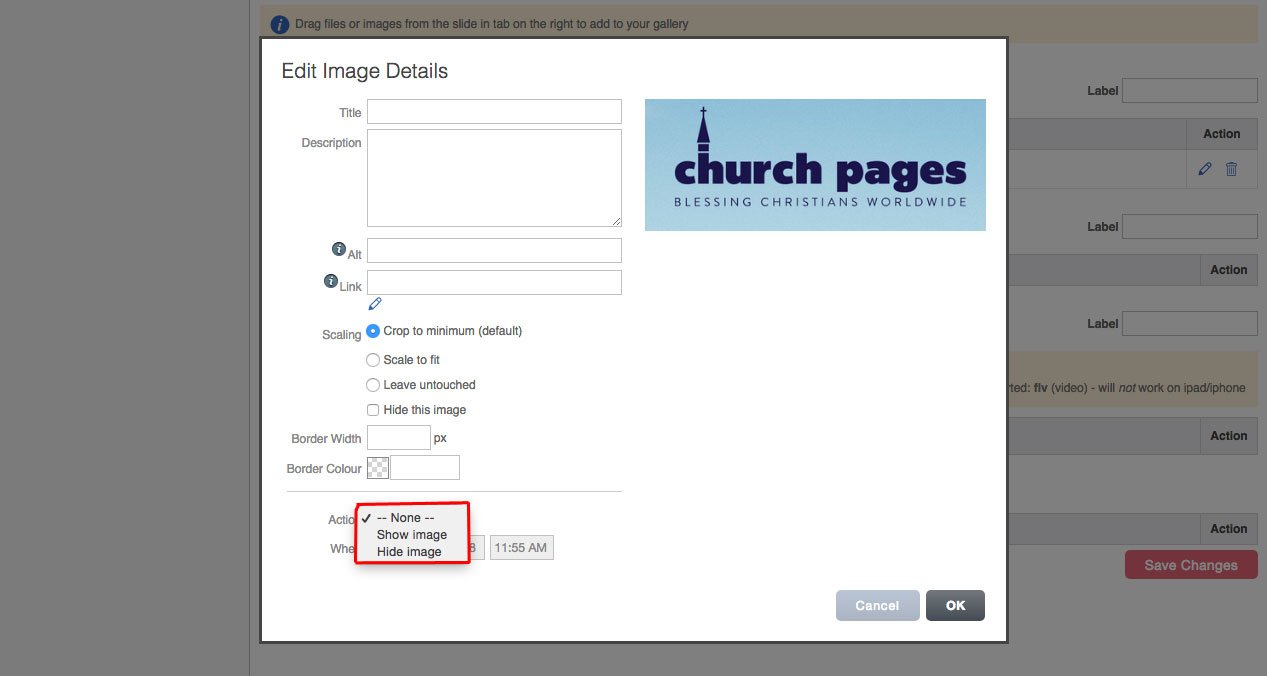
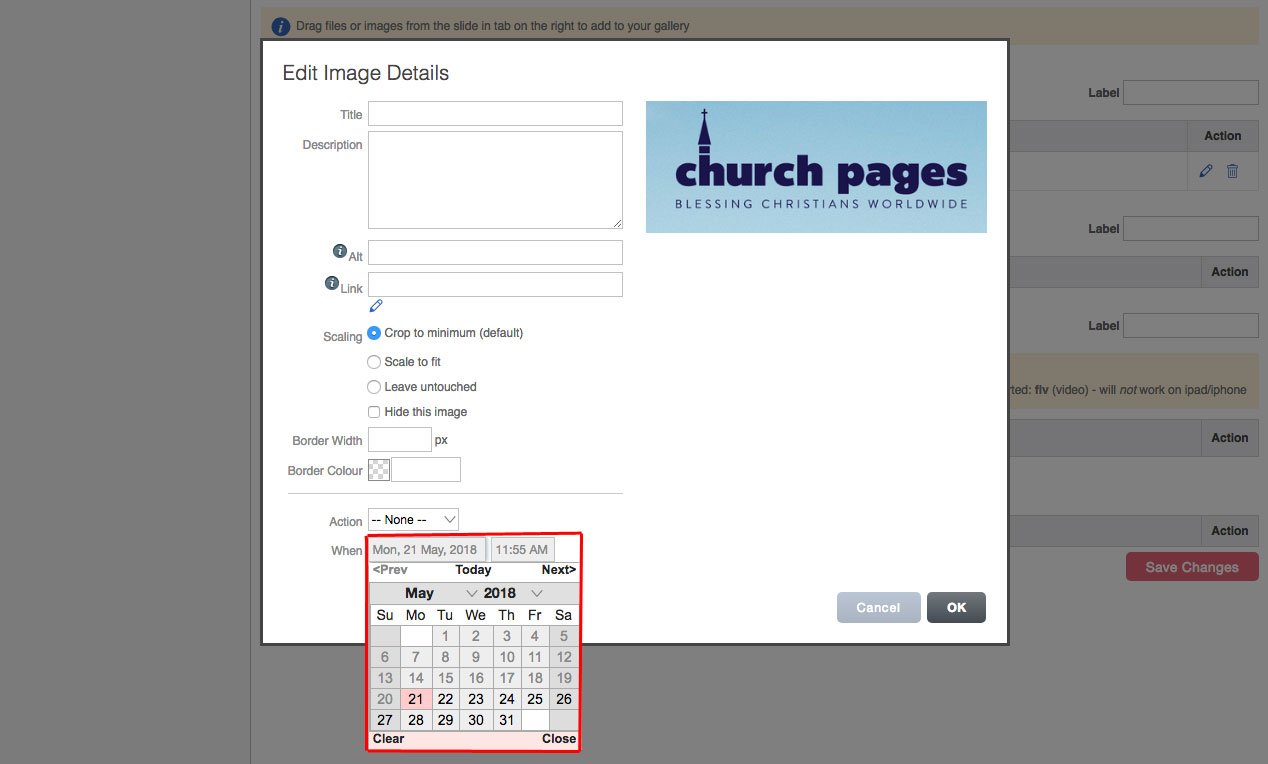
7. You can schedule to hide or show the image on a specific date and time by choosing the action from the drop-down, then set the date and time from the calendar below.
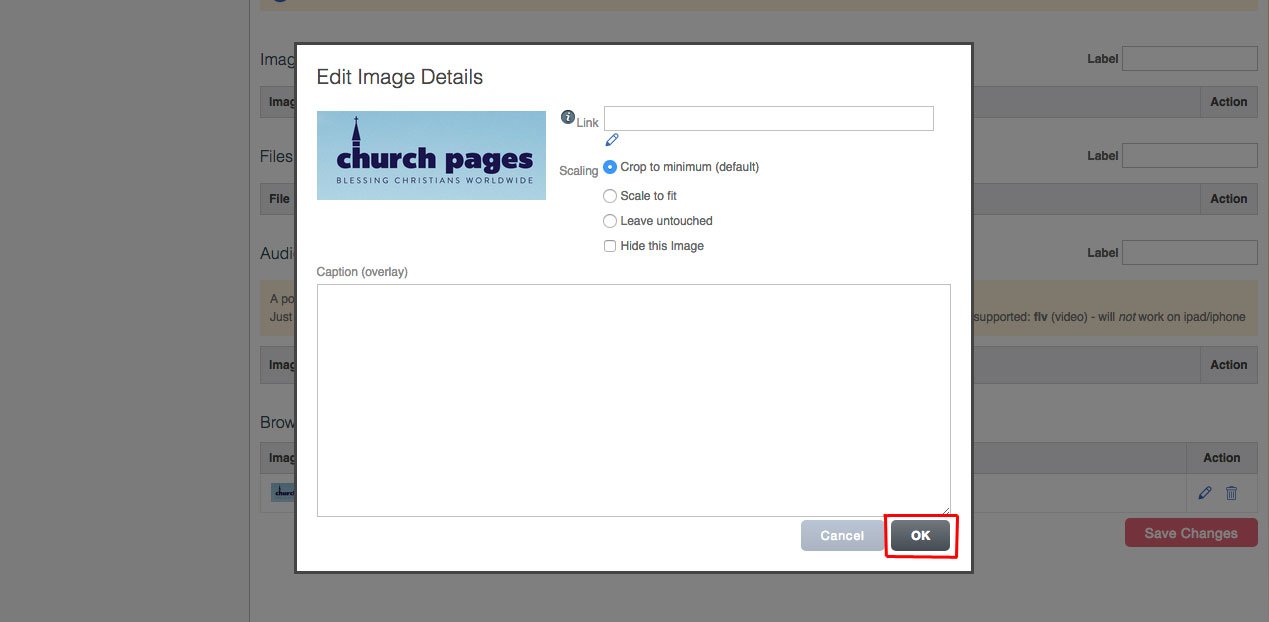
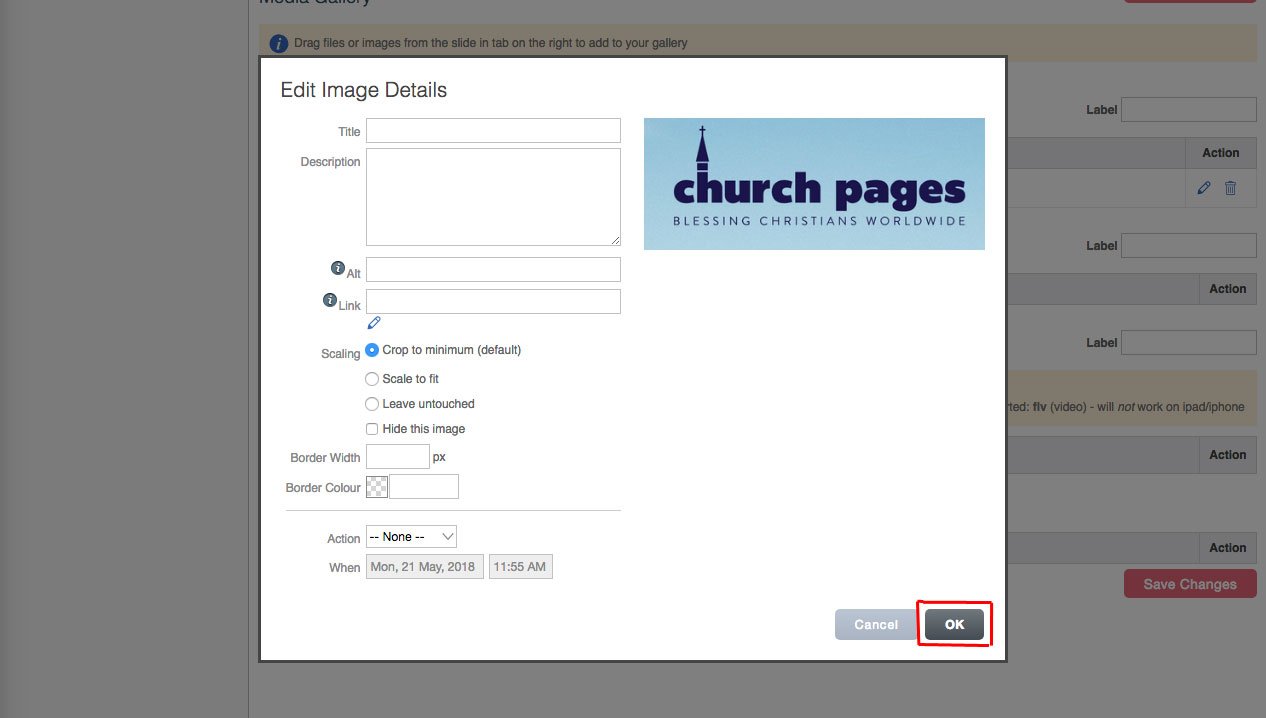
8. When you have finished click OK.
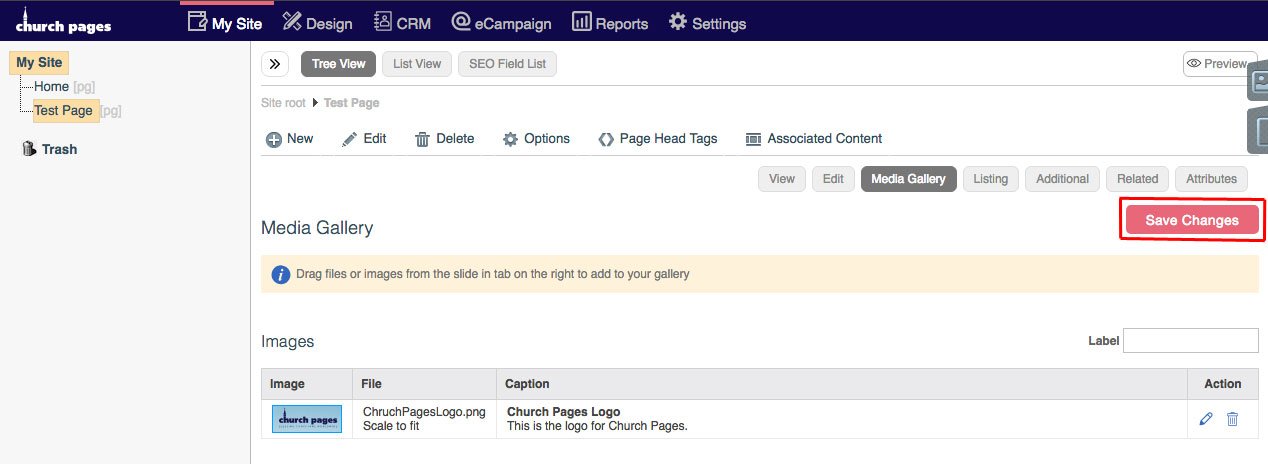
9. Click Save Changes.
Page Files
The Page Files tab is used to upload files that will be used on a specific page.
If there is a file that will be used on multiple pages, you should upload it to the Site Files tab instead.
1. To access to Page Images tab, click the Page Files icon in the top-right of the Media Gallery.

2. Then you can upload a file.
Video Tutorial.
Uploading a File
To upload a file to the Admin Area of your Church Pages website, you first need to decide if you're going to upload it to the Page Files or the Site Files tab.
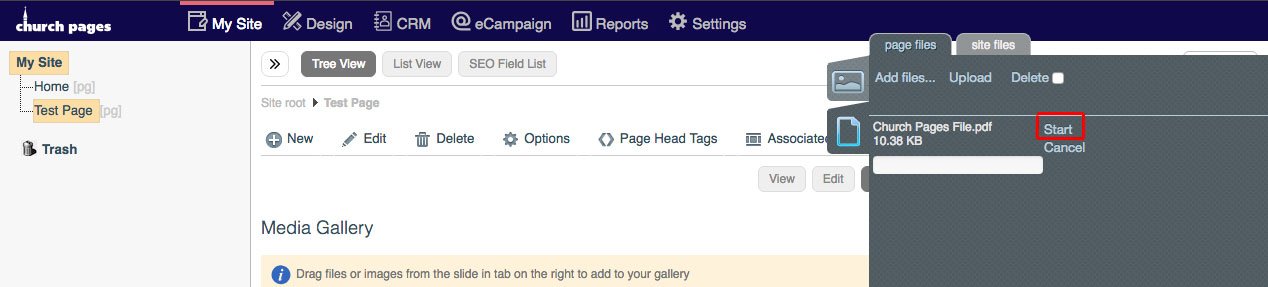
1. Click the Page files icon in the top-right of the Media Gallery.
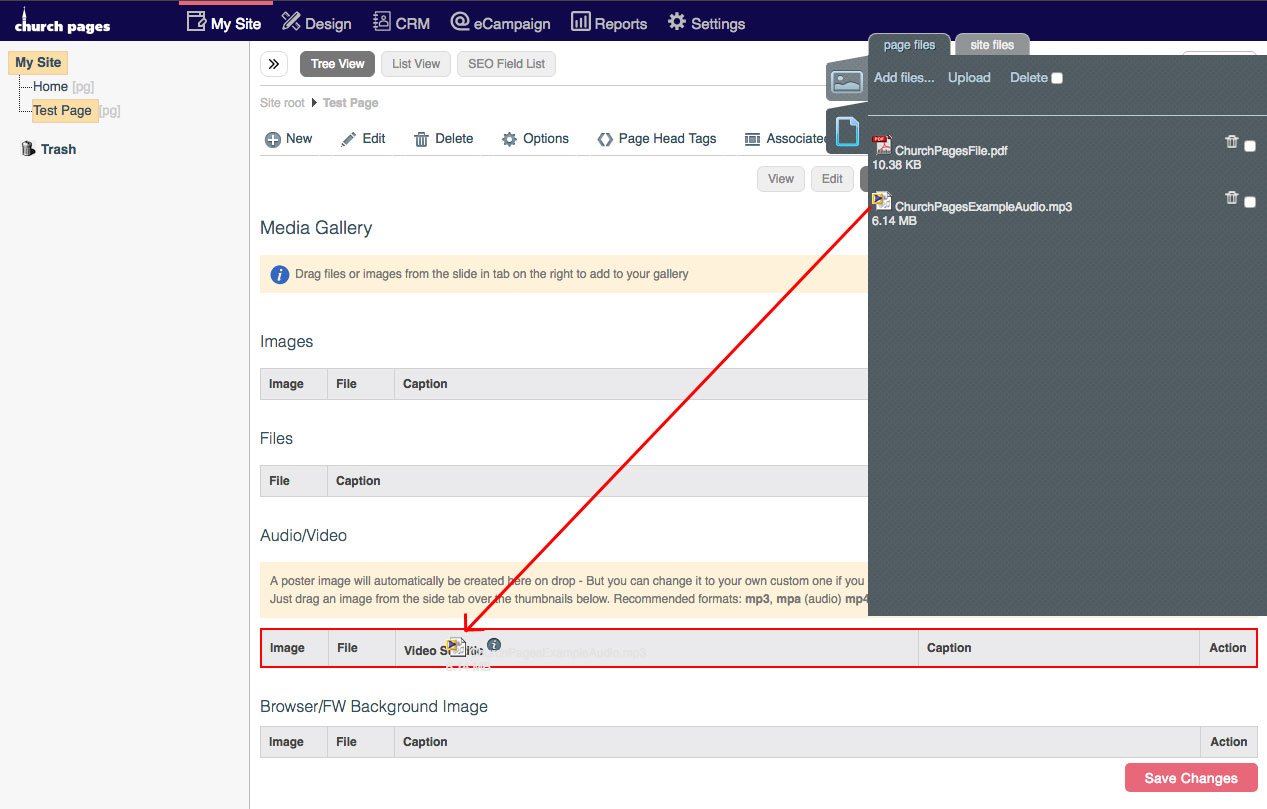
2. Drag and drop your file into the tab or click Add Files and open the file with the file browser.
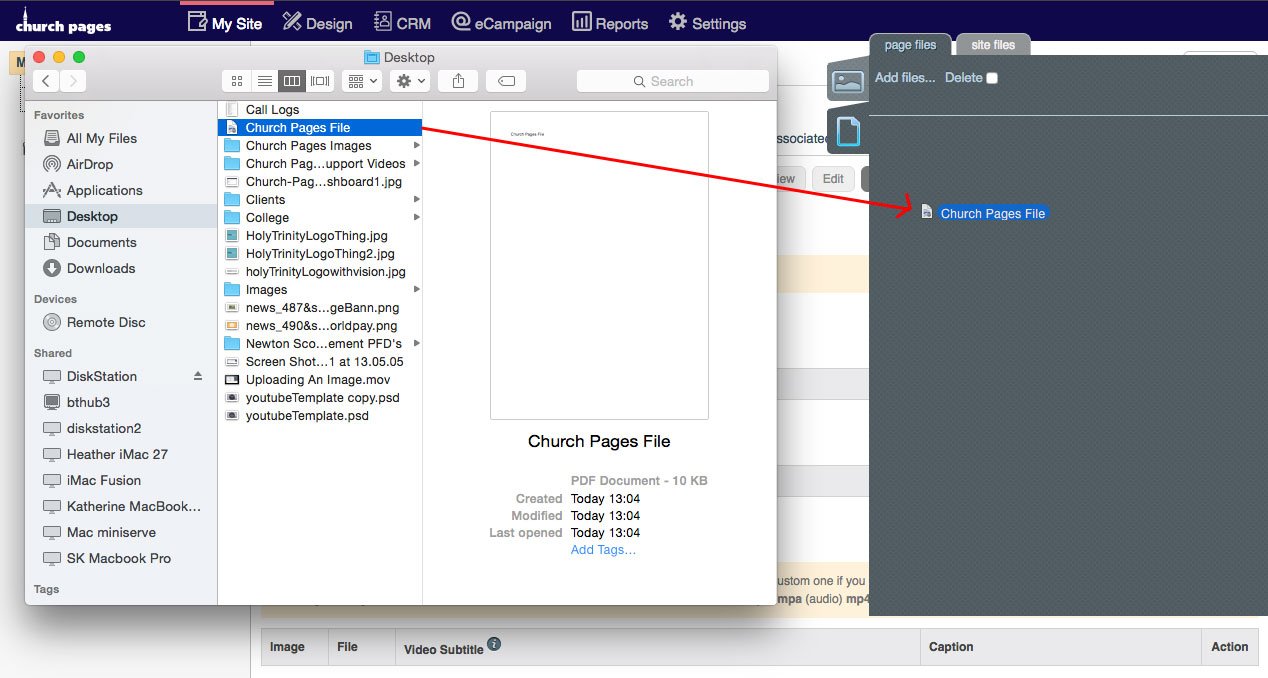
3. Click Start.
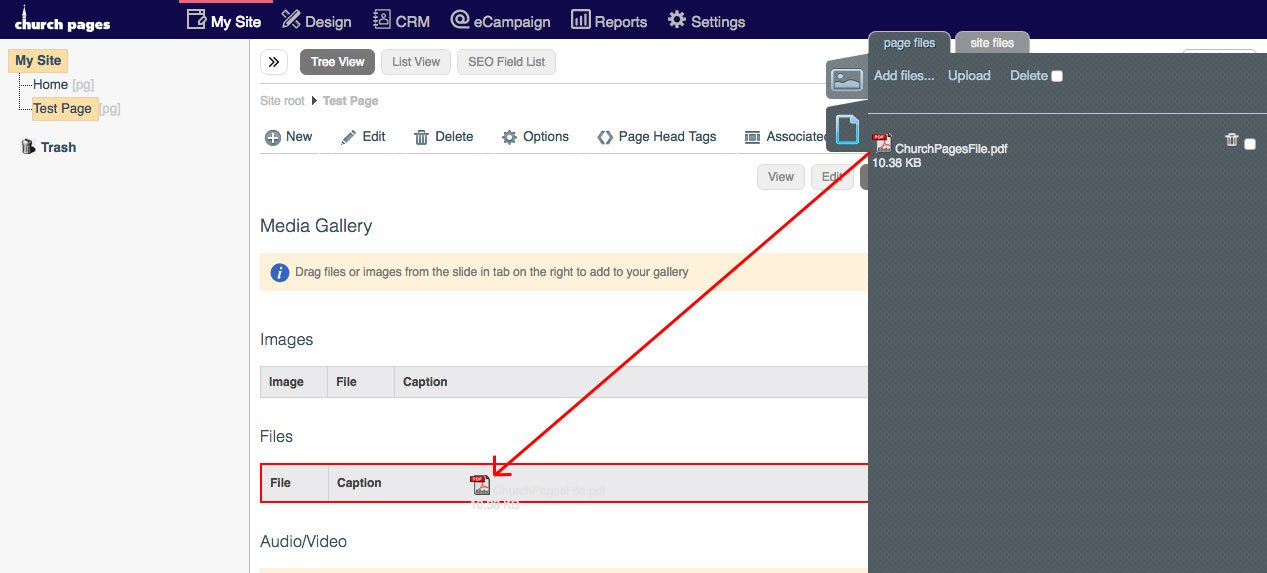
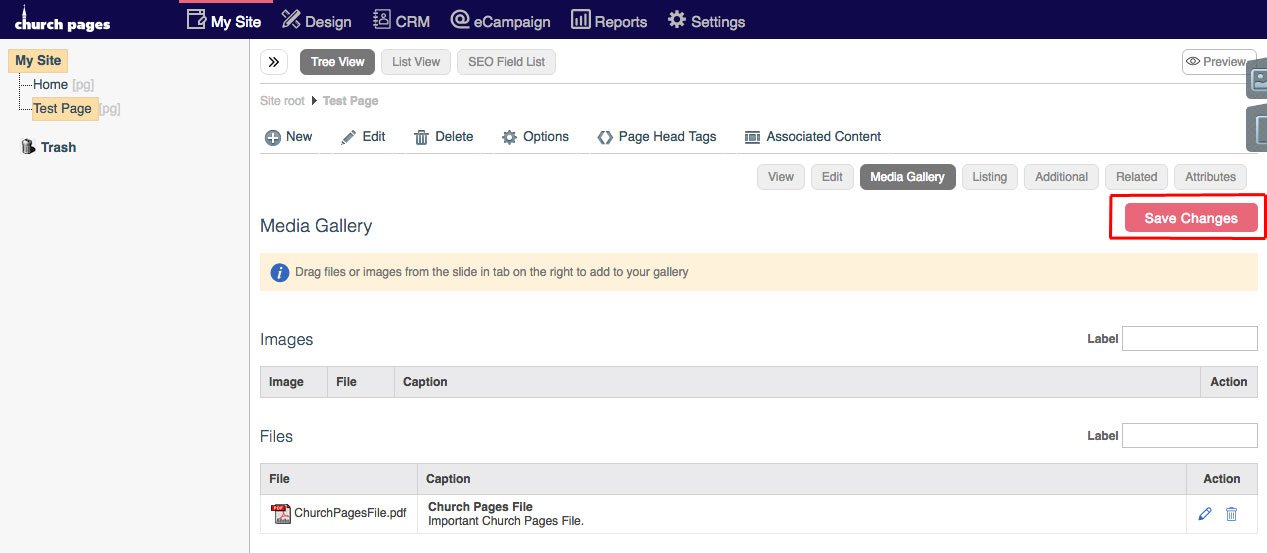
4. Drag and drop the file from the page files tab to the Files table in the Media Gallery.
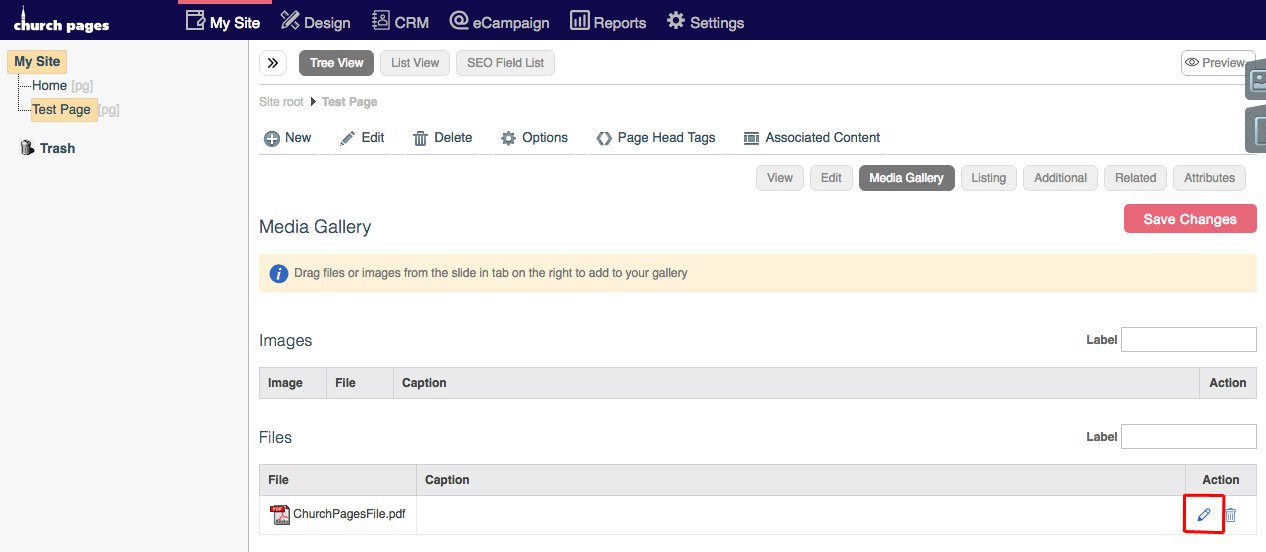
5. Edit the file by clicking the pencil icon to the right.
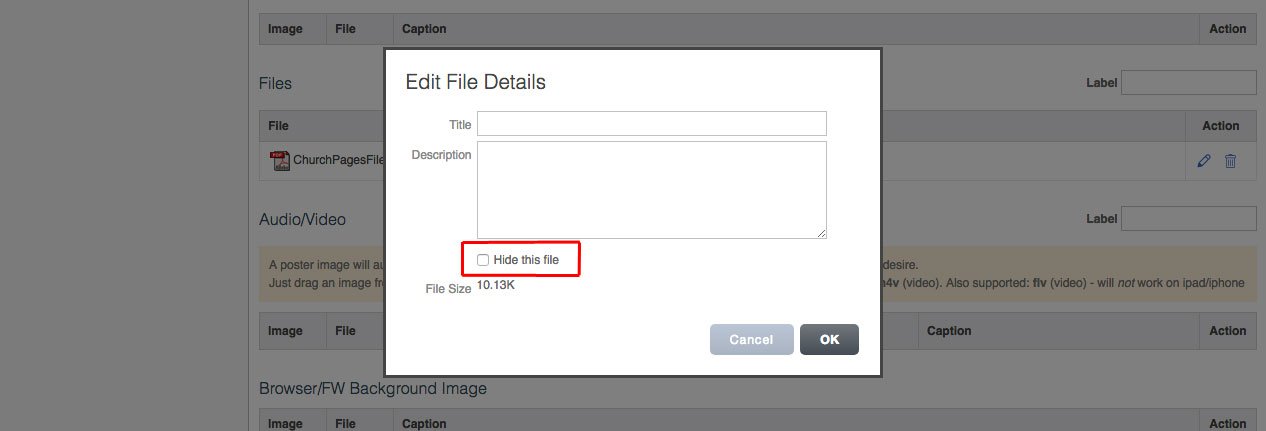
6. Give the file a Title and a description by typing them into these text boxes.
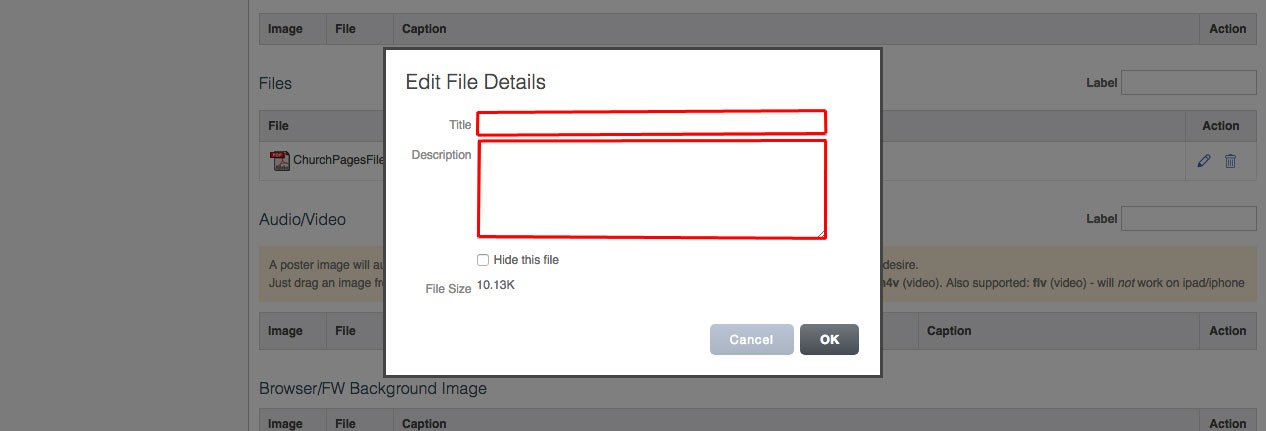
7. You can hide the file by clicking this checkbox.
8. Click OK.
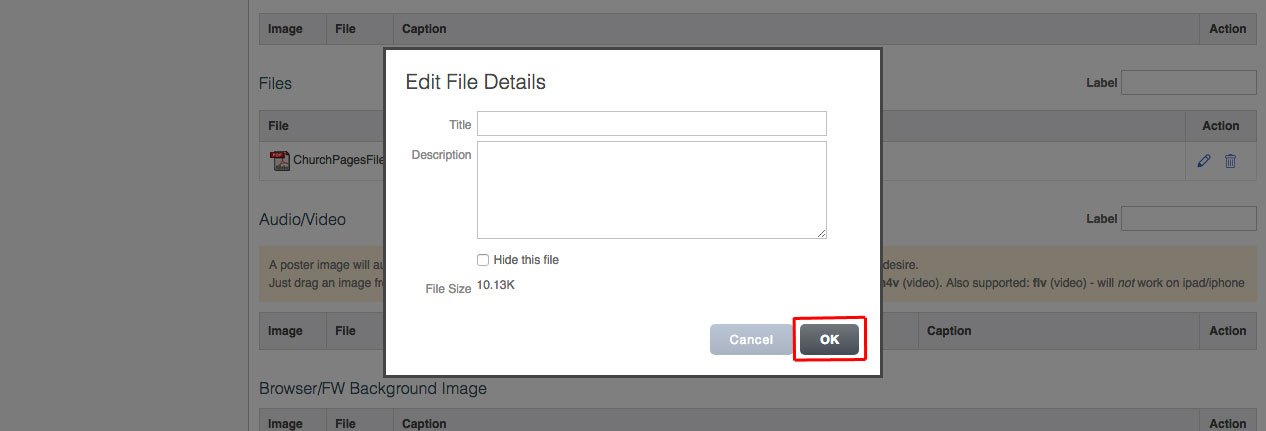
9. Click Save Changes.
Video Tutorial.
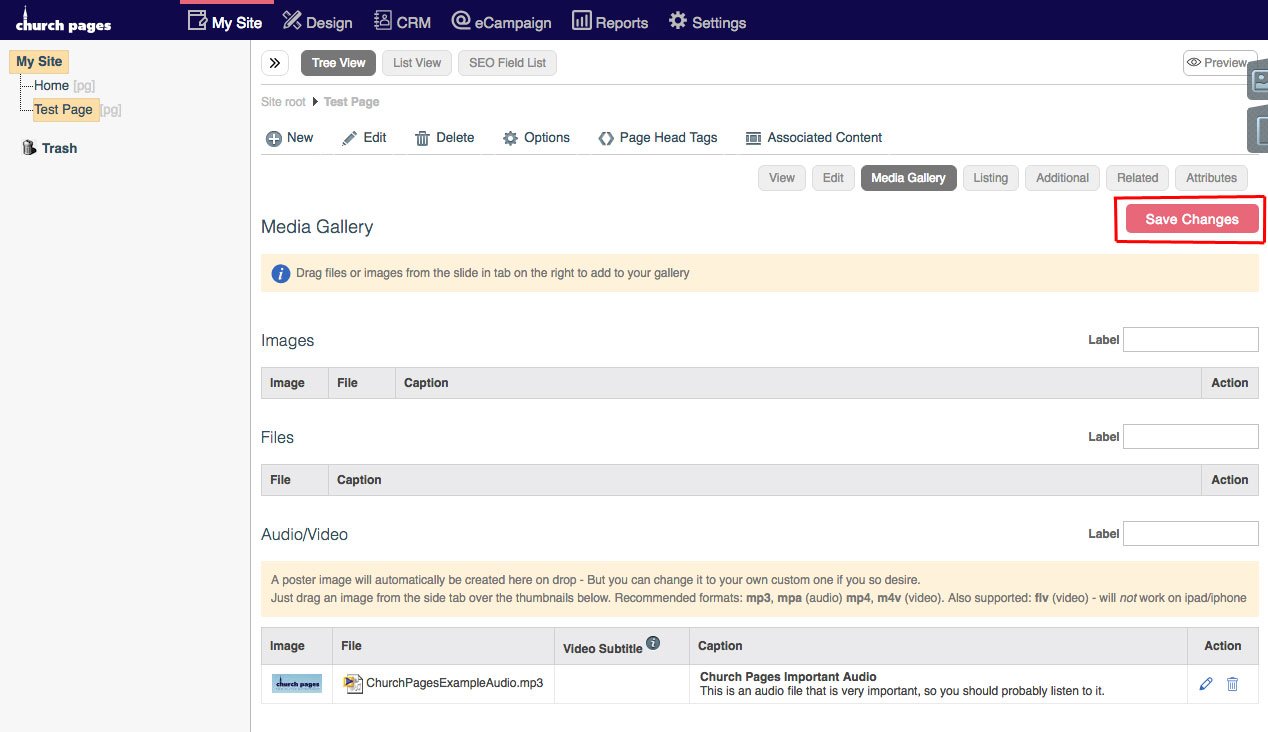
Audio/Video
Audio and video files can be uploaded to the Media Gallery in the Site Files, or Page Files tabs.
Please only upload an .mp3 or .mpa file for audio or .mp4 or .m4v for video.
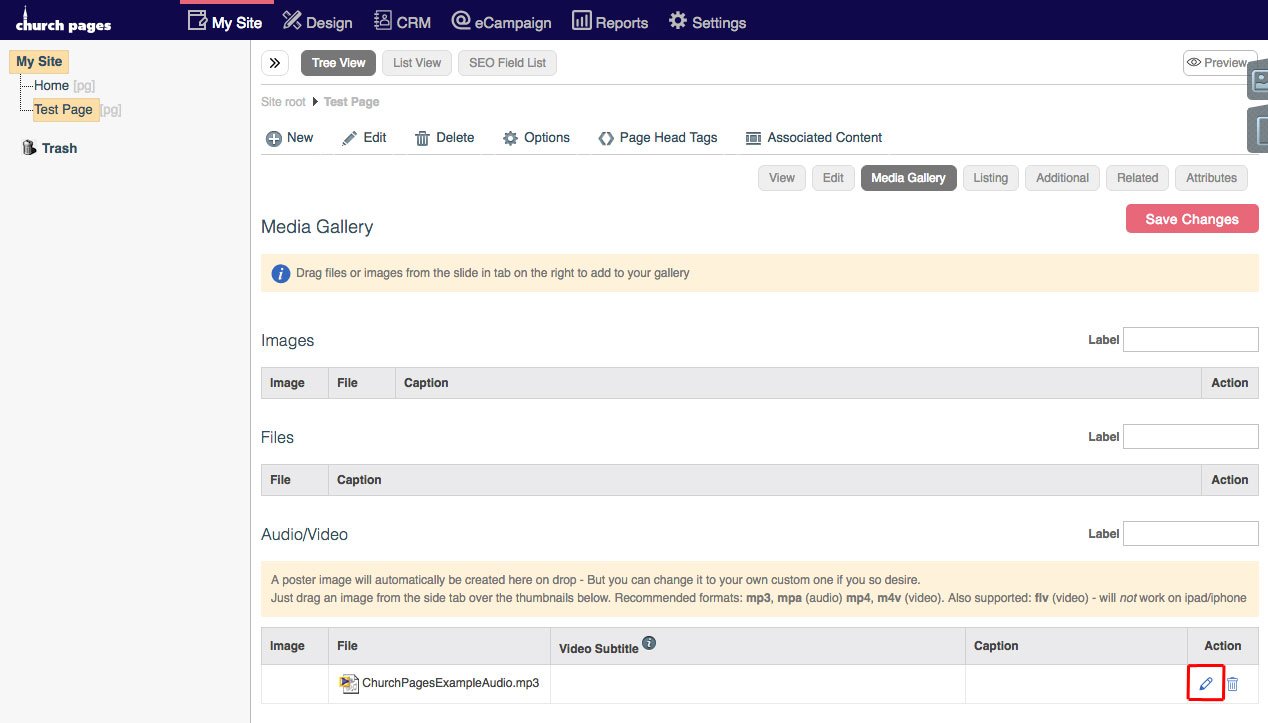
1. When the file is uploaded, drag and drop it into the Audio/Video table in the Media Gallery.
2. Edit the file by clicking the pencil icon.
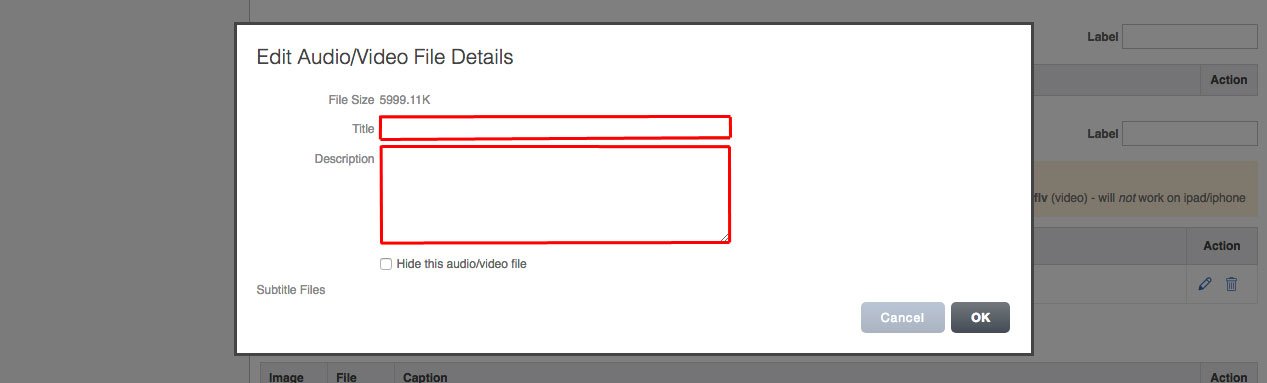
3. Add a Title and Description to these text boxes.
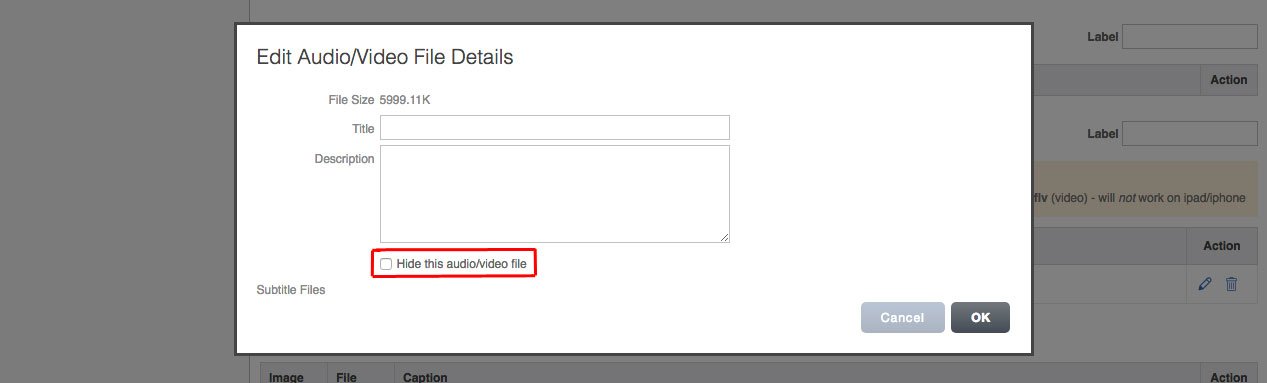
4. You can also hide the Audio/Video file by clicking this checkbox.
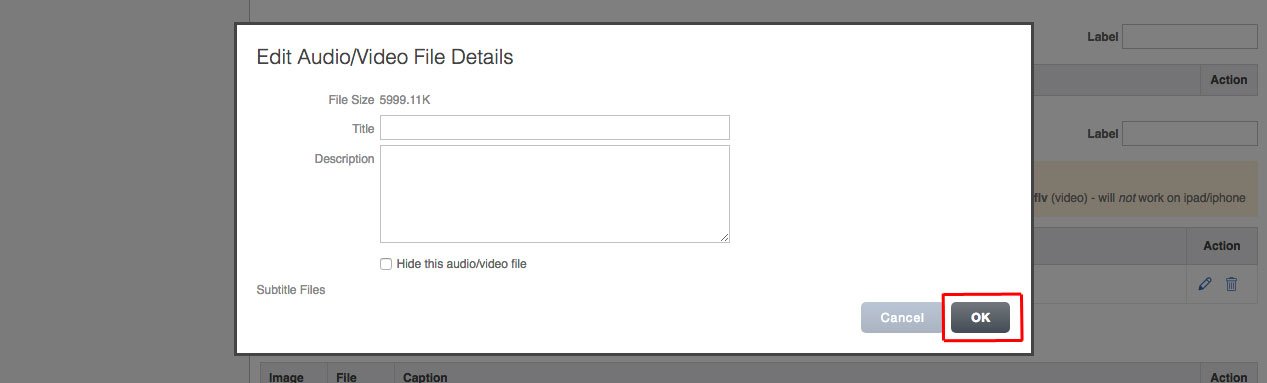
5. Click OK.
6. You can also add an Image to your Audio/Video file.
7. To do this, open the Page Images, or Site Images tab

8. Drag the Image file into the image column in the Audio/Video table in the Media Gallery.
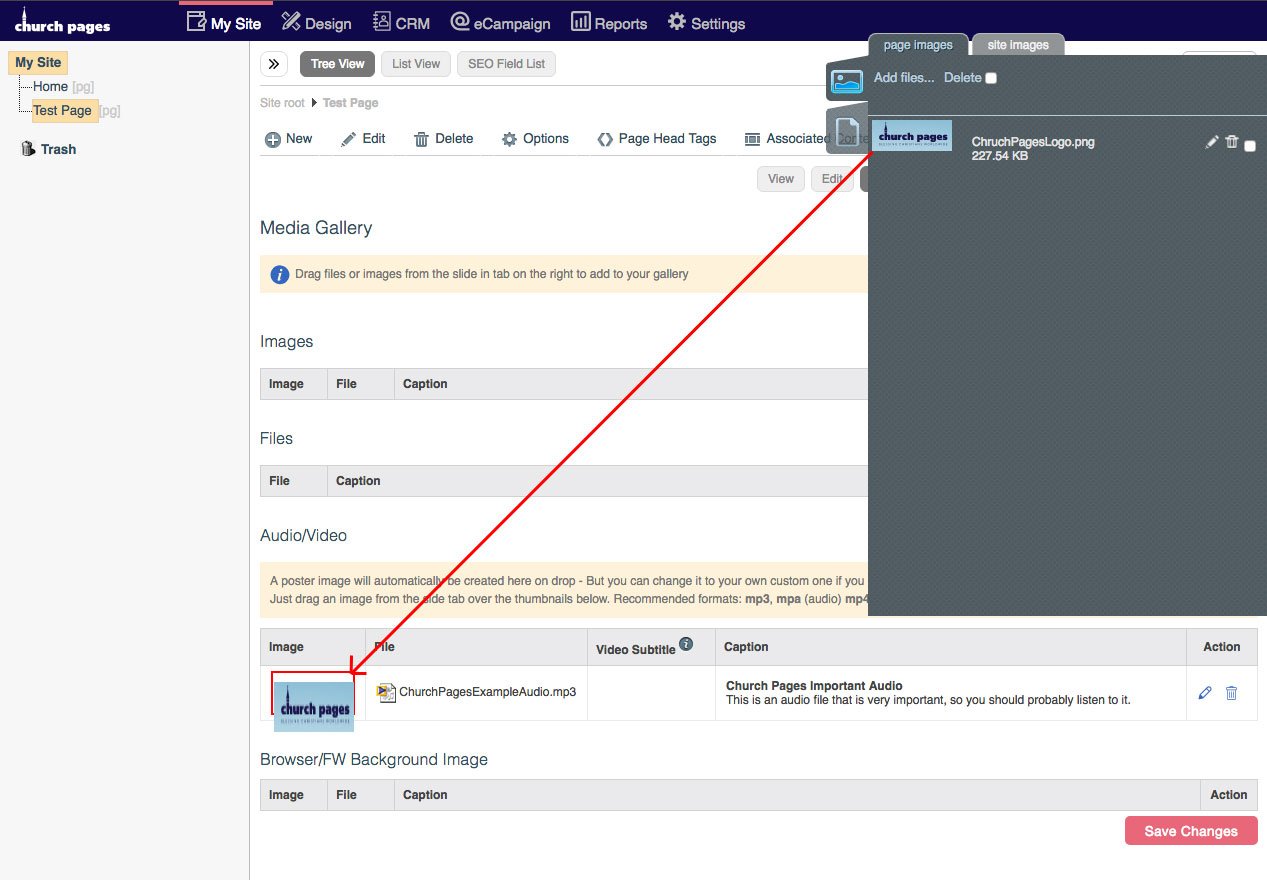
9. Click Save Changes.